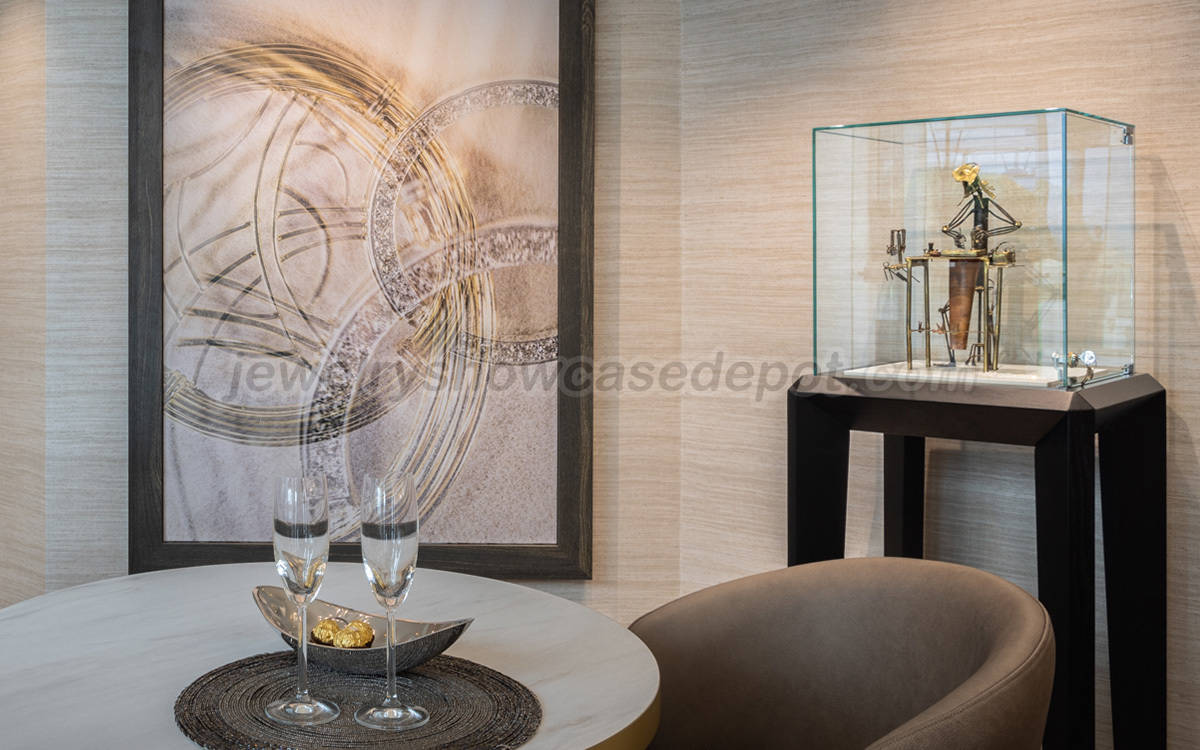
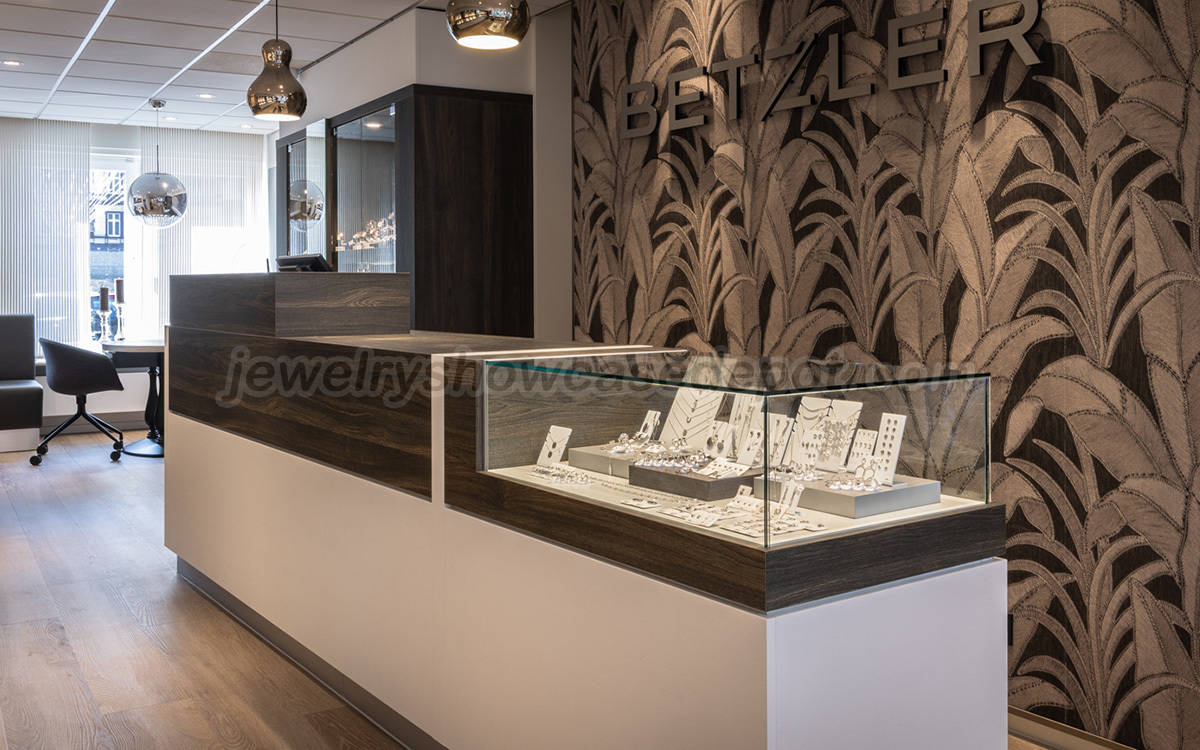
Display cases for collectibles or other prized possessions are an excellent way to preserve them and show them off to others. While these glass display case can be costly when purchased from the store, with minimal effort you can create your own and customize it as desired for a fraction of the cost. Not only will it show off your items but also showcase your woodcraft skills!

Step 1: Conceive Your Display Case for Collectibles
Measure the item(s) you plan on showcasing in your case and draw a rough sketch of its desired shape - usually square or rectangle. Allow an extra couple of inches on each side so your items fit inside comfortably - for instance, 9 inches high by 9 inches wide could be ideal for a baseball display box.
Step 2: Choose the Wood
Select the wood that will be used for the display. Mark on it the dimensions for the base - either a solid square or rectangle that is larger than both your items and inside display area. For best results, use two pieces (one larger than the other) to build up this base.
Step 3: Cut the Base Pieces
Use a table saw or jigsaw to cut each base piece to size. For instance, 10 by 10 inches for the initial piece and 11 by 11 inches for the second one - or the bottom portion - of the base.
Step 4: Construct the Frame
Measure and cut pieces for the display frame from 1-by-1-inch boards. If the main base measures 10 inches, then each of these frame pieces should measure 9 inches in length.
Step 5: Groove the Frame Pieces
Use a router or table saw to cut a groove down the middle of each frame piece at 1/4 inch depth. This will secure the glass in place.

Step 6: Construct a Diagram
Sketch out how the pieces will fit together. Router the inside pieces 1/4 inch deep, giving them two sides routed for holding glass securely.
Step 7: Shape the Outside Edges
To shape each outside edge frame piece, cut them at a 90-degree angle similar to what picture framers do when cutting picture frames. Do this to six of the eight frame pieces on one edge only.
Step 8: Take Final Measurements
Measure the area inside the frame after all pieces have been cut to get the final measurements needed for glass pieces. There will be five planes total, so remember to account for an extra 1/4 inch on all sides so they fit into routed out grooves.
Step 9: Cut the Inside Groove
Utilize a router to cut an inside square groove on the smaller base piece.
Step 10: Stain Wood Pieces
Apply stain to all wooden pieces using a cloth or paintbrush and allow to dry. Follow with another coat, allowing the first one to completely dry before moving on.
Step 11: Construct the Bases
Attach the smaller base to the larger one with wood glue. Apply a thin glaze of wood glue over the bottom of each small base, and then nail or screw from there up towards the top one.
Step 12: Attach the Side Pieces
Start by setting up all of the side pieces for your display. Place frame pieces up top, joining them together by inserting glass pieces. When all pieces are matched up correctly, apply a small amount of wood glue at the base of each frame piece that will secure it to its base.

Step 13: Nail the Bottom Base
Use nails to secure the bottom base up to each of the frame edges on each corner. Be sure not to go through where the glass sits in the middle.
Step 14: Assemble Your Display Case
Place the display object(s) inside the case.
Step 15: Insert the Remaining Glass
Apply some glue to the 90-degree cut angles and insert all remaining glass pieces.
Step 16: Clamp the Top Edges
Clamp the top edges where 90-degree cuts have been made and allow the wood glue to dry completely. You may reinforce these areas with nails if desired, but remember that they will be visible afterwards.
Step 17: Display Your Craftsmanship
Show off your new handmade display case for collectibles to show off all of your hard work!


